

创建自定义MCP服务器并在VS代码中与GitHub Copilot一起使用
说明: 使用VS代码的模型上下文协议(MCP)的基本示例。此仓库展示了如何创建自己的MCP服务器,并通过在VS Code中向GitHub Copilot聊天自定义提示与之交互。
- 克隆并进入仓库
git clone git@github.com:HoangYell/simple-mcp-vscode.git
cd simple-mcp-vscode- (如果需要)安装venv模块
sudo apt install python3-venv- 创建并激活虚拟环境
python3 -m venv .venv
source .venv/bin/activate- 安装依赖项
pip install -r requirements.txt- 配置VS代码
添加到您的 settings.json:
{
  "chat.mcp.discovery.enabled": true,
  "mcp": {
    "servers": {
      "SimpleMCP": {
        "type": "python",
        "command": "/path/to/project/.venv/bin/python", // e.g. /home/hoangyell/simple-mcp-vscode/.venv/bin/python
        "args": ["/path/to/project/server.py"], // e.g. /home/hoangyell/simple-mcp-vscode/server.py
        "cwd": "/path/to/project" // e.g. /home/hoangyell/simple-mcp-vscode
      }
    }
  }
}- 点击 在VS Code的设置中使用上述SimpleMCP,或运行:
python server.py- 试试看!
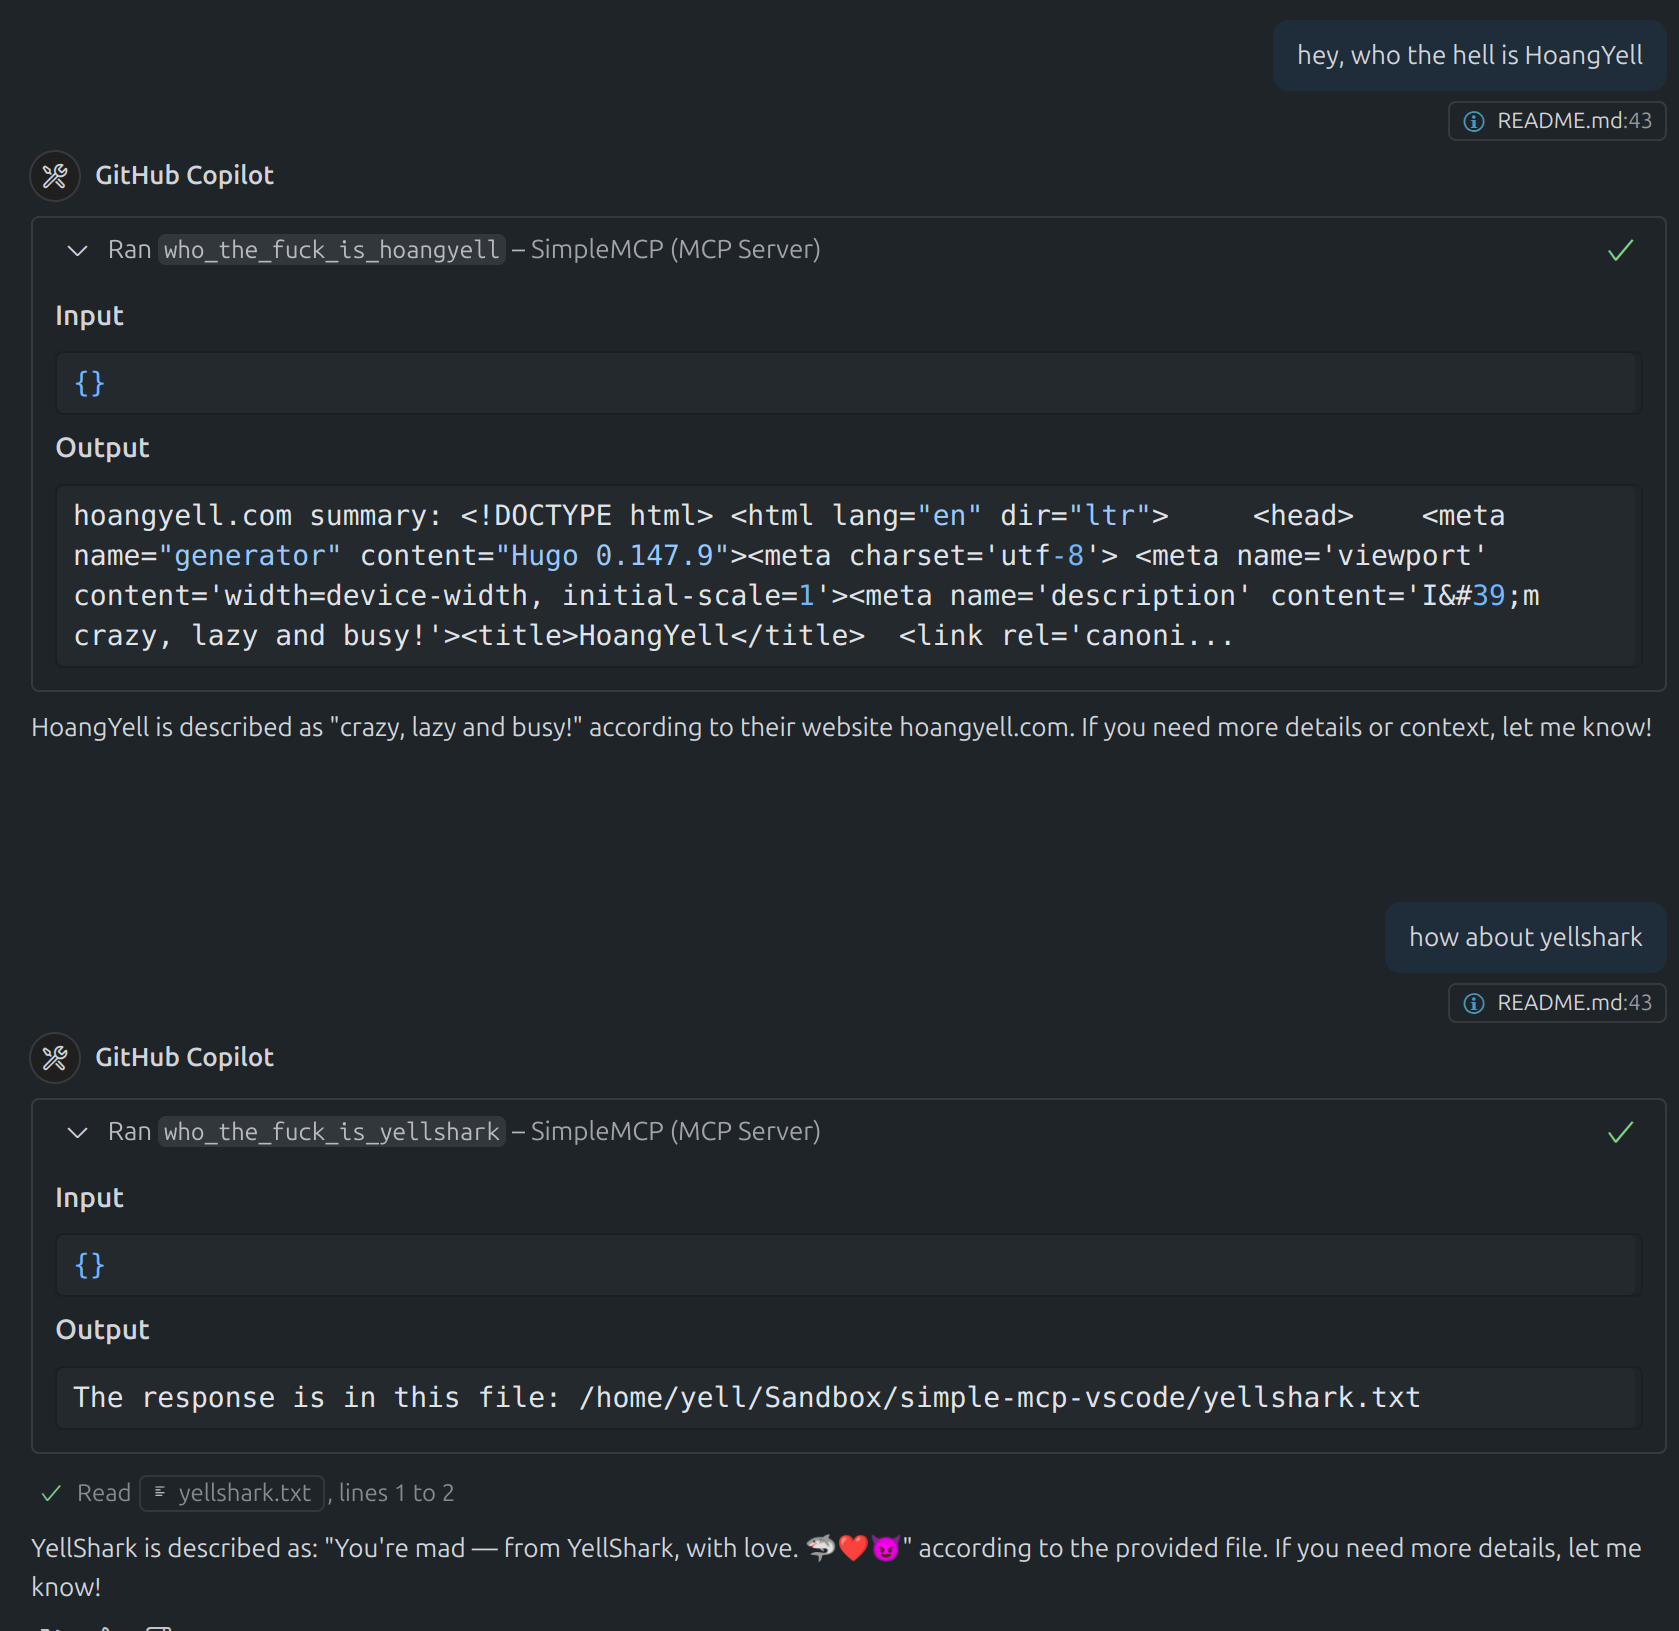
- 在聊天中,键入:
who the fuck is hoangyell? - 或者:
who the fuck is yellshark?
______________________________________________________________________
现在,您应该看到MCP工具在VS Code聊天中工作。
https://www.youtube.com/watch?v=U1YMyUdjqCw
MCP数据流概述(ASCII艺术):
User                VS Code (MCP Client, "chat.mcp.enabled": true)           LLM Server (e.g. Copilot/GPT)           MCP Server
  |                              |                                            |                                        |
  | 1. "Who the fuck             |                                            |                                        |
  |    is yellshark?"            |                                            |                                        |
  |----------------------------->|                                            |                                        |
  |                              | 2. Send prompt to LLM                      |                                        |
  |                              |------------------------------------------->|                                        |
  |                              |                                            | 3. Parse intent,                       |
  |                              |                                            |    select tool:                        |
  |                              |                                            |    who_the_fuck_is_yellshark()         |
  |                              | 4. Return tool call info                   |                                        |
  ||                                        |
  |                              |                                            | 6. Execute tool                        |
  |                              |                                            |--------------------------------------->|
  |                              |                                            |                                        |
  |                              |                                            | 7. Return tool output                  |
  |                              |<-------------------------------------------|<---------------------------------------|
  | 8. Display result in chat UI |                                            |                                        |